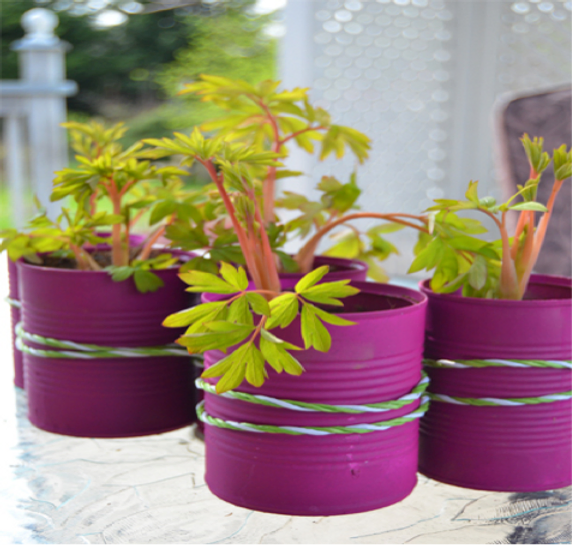
Little Handmade planters for your Home, perfect for party displays, or make as a gift for someone special! Treasures like these are even more special since they are handmade taking the time and with love as well as teaching children the importance of reusing and recycling.
Here is what you need:
- Empty (clean) food tins.
- Spray paint.
- Nails & Hammer.
- Flowers/herbs/plants.
- Soil.
How to:
- Remove the labels from tins by soaking them in warm soapy water. The labels should peel right off after about 10 minutes. Clean and dry the tins.
- Turn tins upside down and gently hammer 3 x holes in the base for draining.
- Paint tins either with a brush or spray can in your chosen colour/s (out in the yard on some newspaper is best unless you want a speckly bench and/or walls!) and allow to dry for 30-60 minutes.
- Fill dried tins with soil leaving about an inch from the top. Plant flowers in the soil and water, whilst pressing down gently to compact the soil. Remember the water will drain through the bottom so sit tin in a dish or somewhere where drips won’t matter!
- Clean them with a damp cloth and you’re done!
- You can also use these beautiful tins to hold stationery, cutlery, utensils, crafts, tools, and more.
Photo Source: dearestnature.com
Gibson, A. (2016). Clever plant container ideas. Retrieved from https://themicrogardener.com/clever-plant-container-ideas/